
Making a Juicy and Flavorful Thanksgiving Turkey
For this year’s Thanksgiving, I wanted to make sure that my turkey was absolutely amazing. I started researching pretty early (as in, after I finished last year’s Thanksgiving dinner). Most websites suggest brining the turkey and injecting the turkey with flavor throughout the roasting process, but I did BOTH last year and my turkey still wasn’t the best it could be. Injecting the turkey while it roasts is a bad idea because everytime you open the oven door, the temperature decreases slightly and you prolong the cooking time, which means by the time the meat is ready to eat, it’s going to be dry and overcooked. I still believe in brining (I did it this year as well) but you really have to make sure you do it for at least 8 hours to reap the benefits.
Here are my suggestions to make a great Thanksgiving Turkey:
1. Brine your turkey. Brining the turkey in a salt and herb mixture overnight allows the flavors to be evenly distributed. I did a simple brine this year (last year, I did a buttermilk brine with practically no salt because my turkey was pre-brined and the turkey turned out really well). However, if you buy a kosher turkey, there’s no need to brine the turkey because it has already gone through a salting process.
Ingredients:
1 cup kosher salt (very important)
1/2 cup light brown sugar
1 tablespoon roughly cracked black peppercorns
1 handful of rosemary
1 handful of thyme
1 handful of sage leaves
1 gallon water
Ice cubes
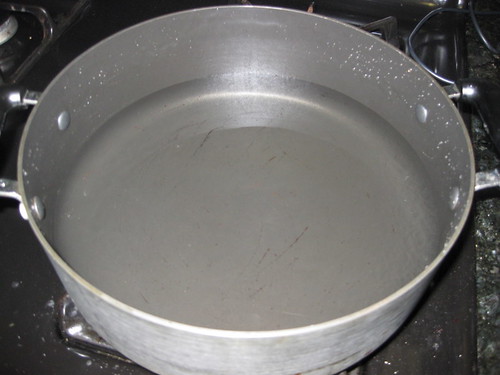
Place the gallon of water in a stock pot (doesn’t have to be large enough to fit the turkey:
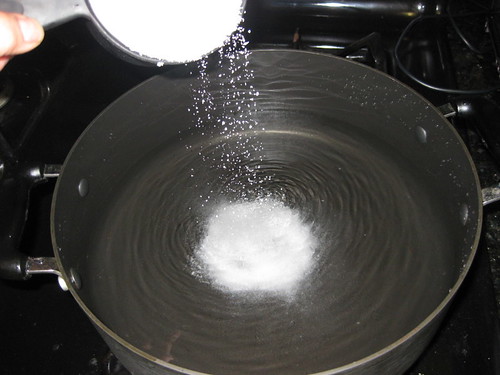
Add the kosher salt to the water:
Next, add the brown sugar:
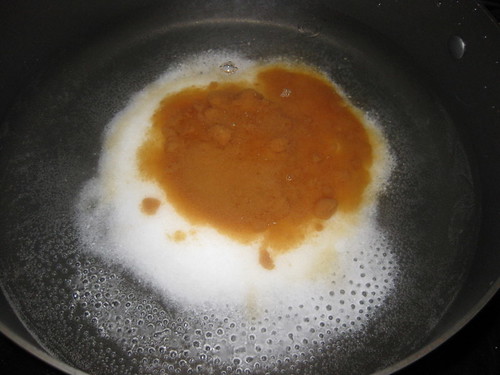
Then the peppercorns:
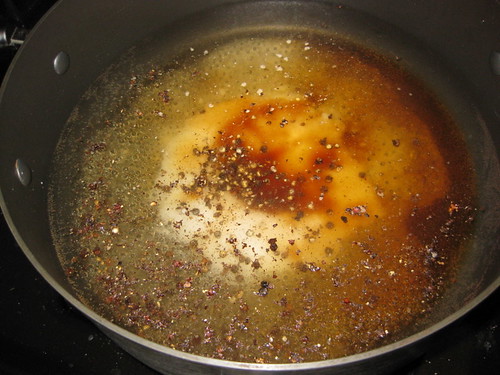
The rosemary:
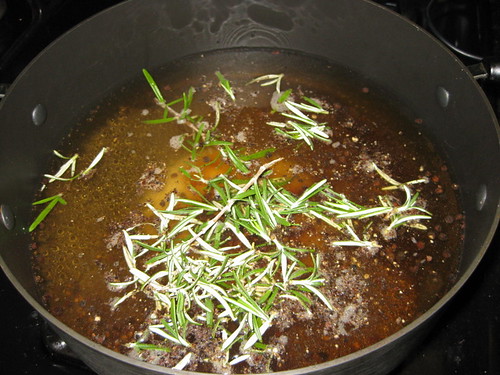
Fresh sage:
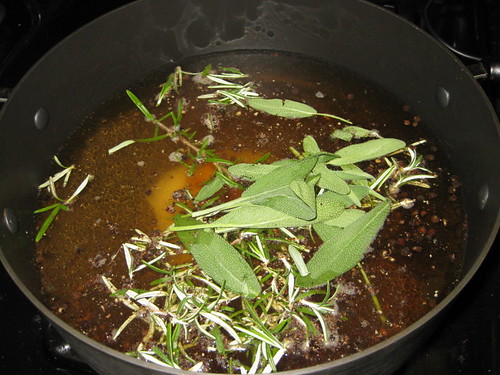
And thyme:
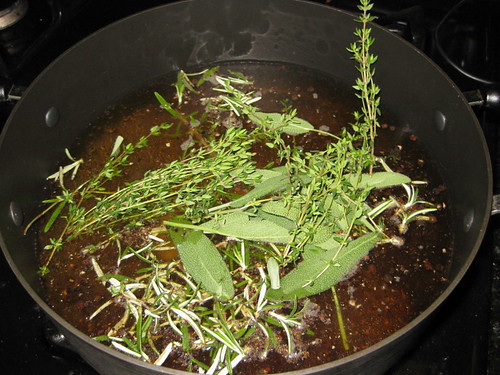
Stir over medium heat until salt and sugar have melted. After the sugar and salt have melted, place ice cubes in the brine to cool it down.
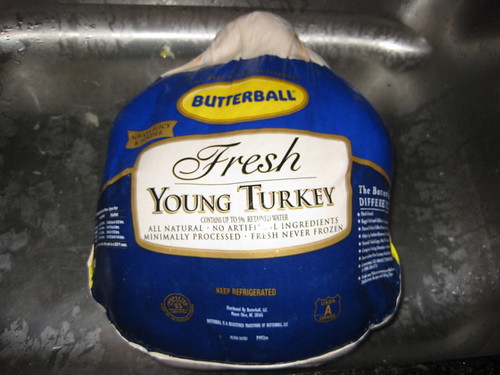
To get the turkey brined, let’s start with one young Butterball (make sure your turkey isn’t still frozen):
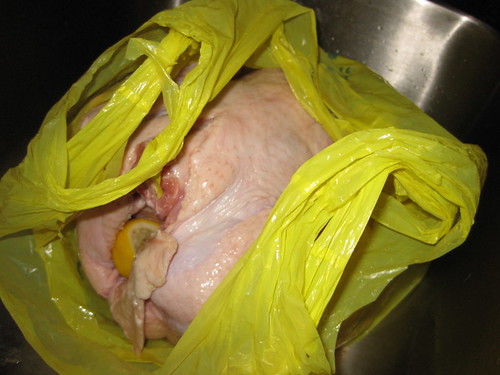
Place the turkey in a brining bag that’s placed on a roasting pan or something that will be able to hold the turkey overnight in the fridge (or cold garage, or in ice):
Dump the cold brine into the bag:
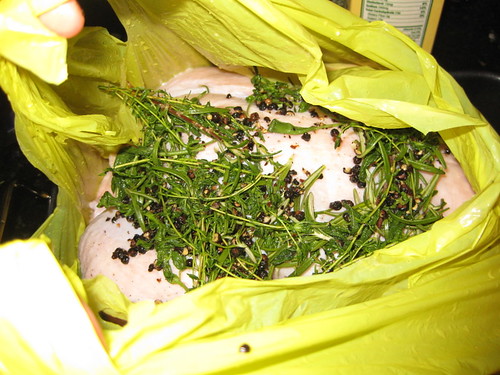
Make sure the turkey is submerged in the brine and stick it in the fridge. If the turkey is only half in the brine, make sure you turn the turkey around halfway through your brining to evenly distribute the brine.
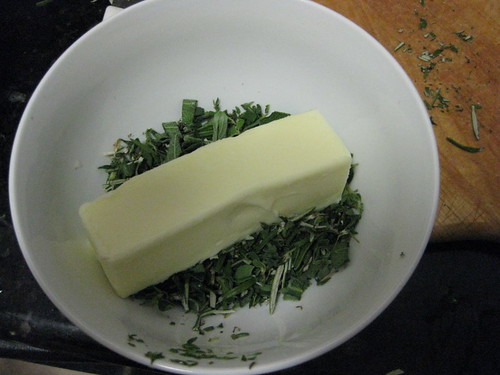
2. Create an herb butter to place under the turkey skin. This is probably the awesomest idea EVER. Butter = good. Herbs = good. Butter + Herbs = VERY VERY GOOD. This is probably the easiest way to add flavor to the turkey; all you have to do is mix some butter with herbs, stick it under the turkey skin, and place it in the oven.
To create an herb butter, find the herbs you want to flavor your turkey with (I chose sage, thyme, and rosemary):

Chop up all of the herbs and place in a bowl. Add a stick of slightly soft butter into the bowl:
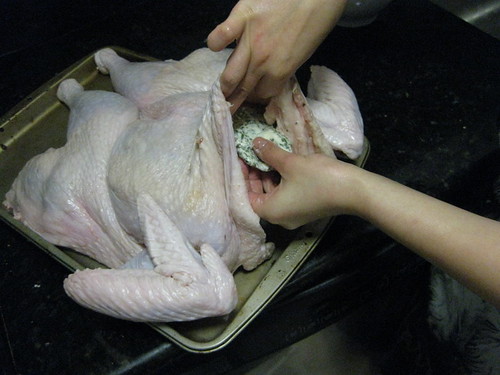
Carefully separate the skin from the turkey meat and place the mushed up herb butter all over:
3. Spatchcock the turkey. Say what?! Spatchcocking, or butterflying, is a great way to ensure an amazing Thanksgiving turkey. Last year after my Thanksgiving party, I watched Grant Achatz make a turkey sous vide. While I don’t think I’ll ever have the opportunity to make anything sous vide, the thing that stuck with me was the fact that he said it’s really stupid to cook the turkey whole (since white meat and dark meat don’t finish cooking at the same time). Well, since I couldn’t do the turkey sous vide style, the next best thing was spatchcocking. Spatchcocking is a great way to make turkey because the backbone is removed and the breastbone is broken, making the turkey lie flat for more even (and faster) cooking. Most blogs recommend spatchcocking a 10-12 pound turkey (or chicken), but I had to feed 14 people so I went with 16 pounds and it turned out well (it’s usually about a pound per person). Also, spatchcocking cuts the amount of time the turkey is actually in the oven; last year, I had to roast the turkey for about 3 hours, this year, I was down to an hour and a half (and this year’s turkey was the same size or larger than last years).
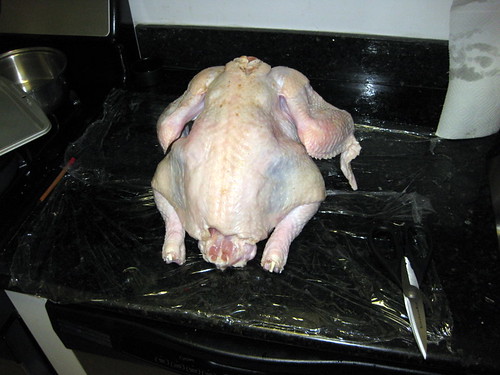
After brining your turkey (if you choose to do so), rinse it off so the residual brine doesn’t stay on the turkey and set it on your counter (I covered my counter in saran wrap for easier clean up):
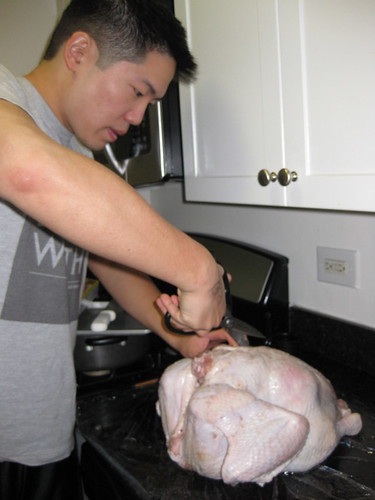
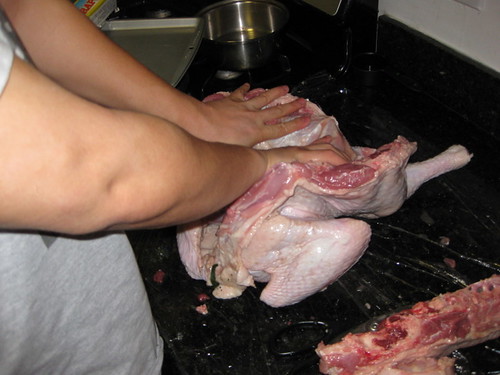
With a pair of sharp kitchen scissors (or poultry scissors if you have the equipment), find the backbone and start cutting along one side:
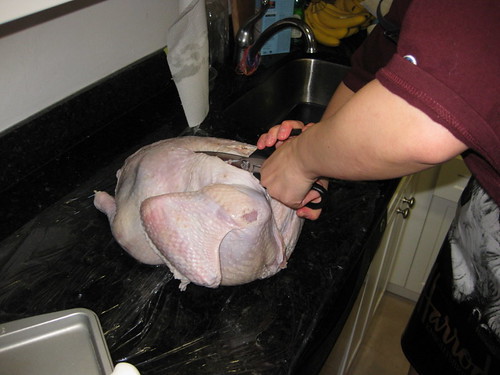
Cutting the backbone is hard work, but David helped out:
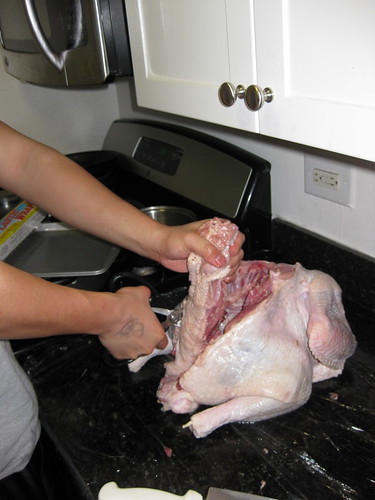
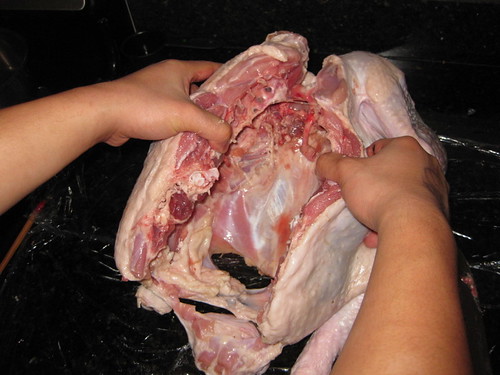
David cutting the other side of the backbone off:
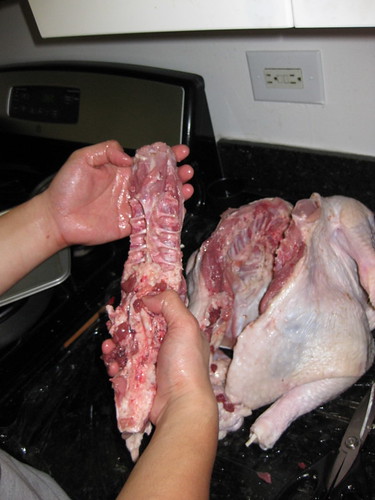
The backbone, once taken off, can be used in stews, broths, and soups. I froze mine to use at a later date:
A turkey without a backbone:
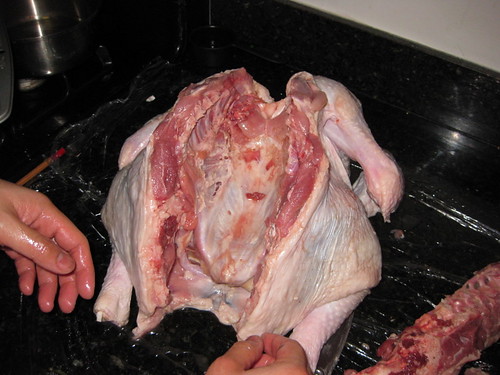
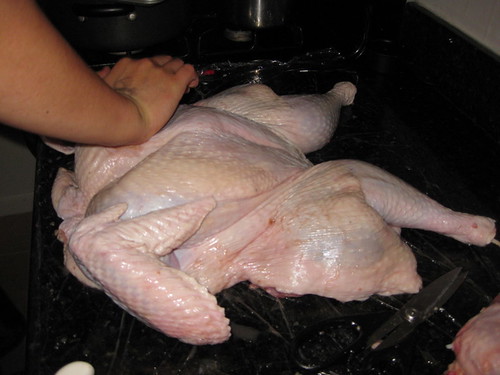
After you cut the backbone off, spread open the turkey:
A spread out turkey:
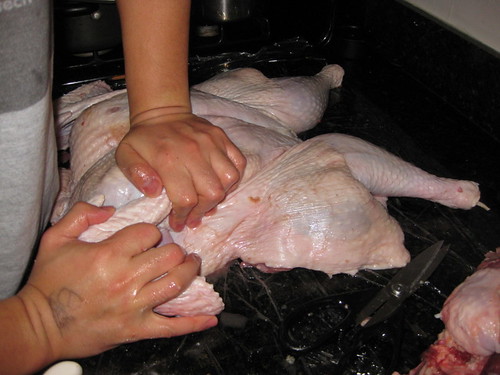
Flip the bird around and break the breast bones (there’s a loud pop when you break the bone):
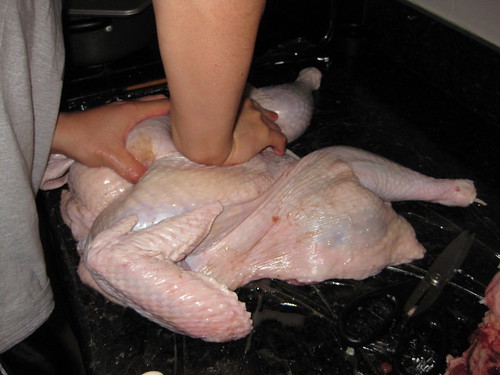
David flattening out the turkey:
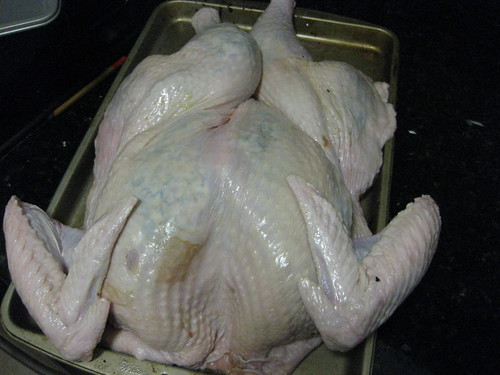
Place the spatchcocked turkey on a baking pan (we flipped the turkey to its side so it would fit more evenly on the sheet):
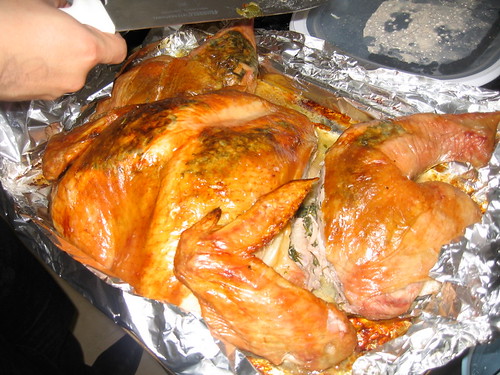
The turkey goes into the oven for 20 minutes (undisturbed) at 450 degrees. After 20 minutes, take it out of the oven and baste it (or just rub butter on it like I did). Bring the oven down to 400 degrees for another 40 or so minutes and make sure the thigh reaches around 160 degrees. Our finished turkey:
David carving the juicy bird:
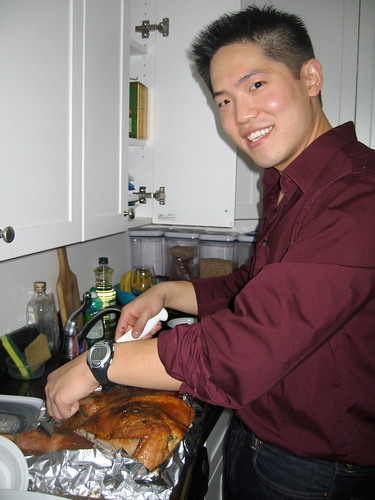
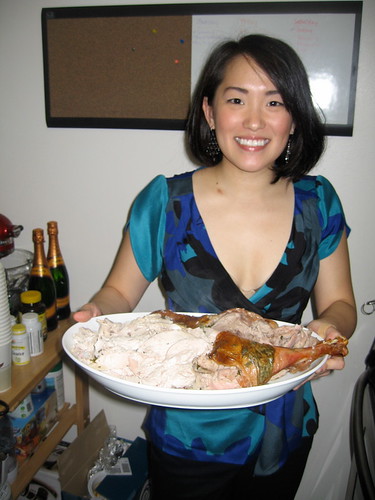
Me bringing it out to our guests:
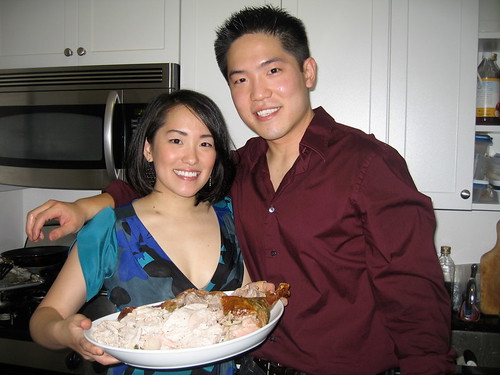
Me and David, very proud of our spatchcocked turkey:
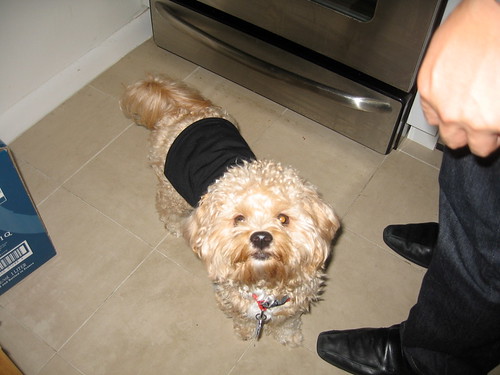
Tigger, begging for scraps:
4. Let the turkey rest. If you don’t want to follow any of my other tips, PLEASE follow this one – after you take the turkey out of the oven, please don’t start carving it right away! Doing so releases all of the juices from the turkey and makes your bird dry and flavorless. Instead, let the bird rest for 10 – 15 minutes to obtain maximum juiciness.
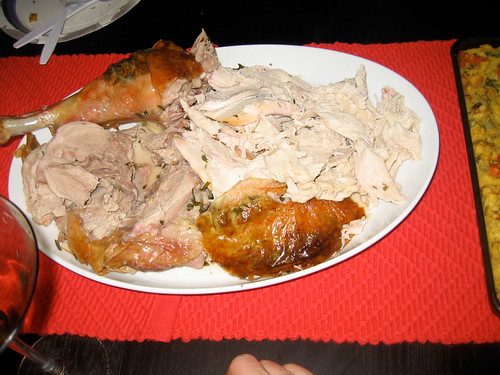
Our carved turkey:
I hope my tips for creating a juicy and flavorful bird were helpful – if you need additional resources, there’s a great tutorial in Martha Stewart Living’s Thanksgiving issue, Mark Bittman has a video tutorial, and blog post about spatchcocking, and you can definitely google spatchcocking turkey for more help. I also wrote another post about tools you’ll need to spatchcock. You can check it out here.
Reader Comments
hey guys, that turkey looks damnnn goood! come to tx and show us how its done!
i hope you all are doin great, can we pleaseee hang out sometime?
I’m so glad to have found this site. GREAT ideas – and photos make it less intimidating. Keep up the good work!
Grace, thank you for the illustrated step-by-step on spatchcocking! You’re convincing me this is the way to go this year – but can you still fit the turkey in a roasting pan?
Casey – the turkey didn’t fit in a roasting pan, but it fit well on a cookie sheet. If you still want to use the juices for gravy (I did), just place a lot of aluminum foil on the cookie sheet to make a little boat to catch the drippings. Let me know how it turns out!
I’ve never cooked a turkey in my life, nor a lot of others things (I’m pretty lame when it comes to cooking), but this just made me want to! Great instructions and pics! The moistest turkey I ever had was deep fried in about 30 min in peanut oil. Have you ever had it that way? I’m curious if this is even more moist. I’ll ask Danny who directed me here.
Thanks for the tips! Thanksgiving was a success and my turkey was delicious. It was very juicy/tender and we had absolutely no leftovers this year which NEVER happens. Thanks again!
As a blog reader, I am readily on the search for reads that are both appealing and worthwhile to digest and I must say the blog passed my criteria. Thanks a lot for your wonderful content you’ve created! Will be returning soon!
I just used this recipe for the second Thanksgiving in a row. It came out fantastic both times. I am so thankful to you for posting such a comprehensive and wonderful recipe! It is so wonderful to know my turkey is going to come out fantastic and I have you to thank. Thank you for saving my holiday!
ihave a 22pounder costco turkey(foster farms) that im going to give a shot. the spotchcocking is a very good idea may be more workload but worth the effort. i’ll msg again for outcome based on my visitor’s(judges) feedback but im looking forward to a happy and full people…happy thanksgiving to all!!!
Este diseño es el mismo para los vehículos con volante a la izquierda a la derecha.
Hi Grace, quick question, do you rub the herbed stick of butter under the skin before brining or after brining?
Also after spatchcocking, does the entire bird fit on one cooking sheet? Top rack, middle or bottom rack?
Sorry this will be the first time making turkey, and it always takes hours when I see the family do it (and it always comes out dry and flavorless), love how juicy yours looks for half the cook time! Can’t wait to try this, this year! Thanks!
Hi Jane! I just saw your comment – I hope your turkey still turned out great but here are the answers:
– I rub the butter after brining – you want to remove the herbs that are stuck to the turkey and then separate the skin and add the butter.
– After spatchcocking, the entire bird does fit onto the cookie sheet. I’m a middle rack turkey baker, but I think either middle or bottom are okay!
Let me know how your turkey turned out! We’ve done some different methods the past few years but spatchcocking is definitely my favorite!